Kimber's Ball Baby Overall mei tai
All directions on this page are copyright to Kimber Tower -- I am only hosting them for her. Permission is NOT granted to sell carriers made from these directions!
Here is what she says on
her site in her FAQ about sewing your own BBO:
I could make that for less! That is true, you could. Will I be offended
if you do? No, I will be thrilled that you made something beautiful to hold your
baby close in. However, bear a few things in mind. These do take some time to
sew, especially the first time. Also, you MUST make sure it is sewn securely.
Please, for your baby's safety (and my peace of mind). Please go to my
education page for some useful links with FREE baby carrier patterns. Finally,
as I said before, I will not be offended at all if you make your own and in fact
I am happy to give you information on where to find a good pattern for whatever
baby carrier you want to sew... but I WILL be offended it you copy my design.
(UNLESS it is ONLY for do it yourself purposes and not for selling to others. There is a BIG difference.) I put many hours and a lot of fabric into my specific
design, please respect that.
Please
also read about what Kimber has to say about using the pattern before sewing! Opens
in a new window, so you can come back here when you're done :)
To make a BBO!
Materials needed:
- AT LEAST 2 yards of a heavy (minimum 7.5 oz) fabric. I prefer home dec fabric,
but whatever
- Matching thread. I use a bobbin’s worth on the top and bottom
- A sewing machine. Duh.
Cutting:
- Take your 2 yards of fabric and fold it in half lengthwise.
- From the INSIDE edge ( the middle if it were unfolded) measure 8-12 inches.
Make sure that leaves you with at least 13 ½” left in the width. Cut
up an inch to mark your place.
- Next cut up about 24”
- Fold this over and measure what is left. What you have folded is your body
panels. Before you cut, measure what is left after the panels. This is going
to be your waist strap and they MUST be at least 30” long, so adjust the
body panel accordingly. When that is adjusted, cut the folded over body panel
widthwise in the middle and where it connects with the waist straps. Put the
body panels aside.
- Now, cut straight up along the same width you just used for you waist straps.
- With them still folded in the middle, cut them up the length.
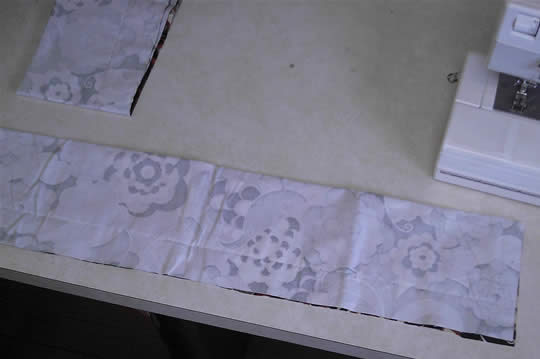
Jan's suggested layout:
the layout above gives two body panels that are, to start, 20" by 22-24"
(which will be folded down to 16" by 18-20ish"). To achieve this, the body panels
are cut 10" from the fold. That leaves top straps that are 12-17" (depending
on the width of your fabric -- it will probably be either 44" or 54" to start,
folded in half to 22-27") by whatever your fabric's length is (somewhere between
72-90" -- longer if you're zaftig, shorter if you're petite; I think 2 yards
is probably the minimum), and waist straps that are 10" by the remainder of the
fabric (between 28" and 46", depending on the length of the fabric). You can
save a little fabric for the waist straps if you don't cut the two body panels
apart in the middle (that would be the vertical line between the two, in the
diagram above), and instead fold it in half -- the fold can then be your bottom
edge, since the waist straps will be put in horizontally, and that'll save you
a couple of inches.
Jen has cutting suggestions in this
thread on the BabyWearer (you must be registered to read posts there).
You now have:
- 2
Squarish shaped body panels
- 2
very long and wide shoulder straps
- 2
not so long and not so wide waist straps
Time to sew!
Straps:
- I start with waist straps because it makes me feel like I accomplished something
right off the bat. Fold it in half and pin right above 4 ½ “ width.
Sew at that width up the length. On one end close it off. Remember to sew these inside out.
- Now for the shoulder straps -- same thing. Width is 6 ¼-3/4”.
Again, close it off.
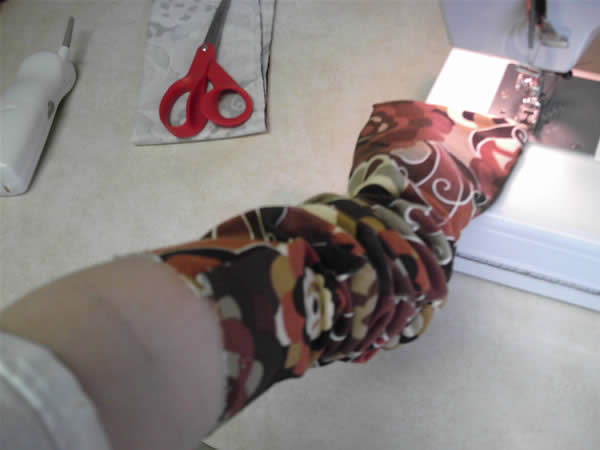
- Turn them inside out and top stitch all along the straps. To keep them as
wide as possible, I keep one hand inside while sewing and it push against the
seam to keep it wide. Go slow and don’t accidentally sew your hand to the
carrier!
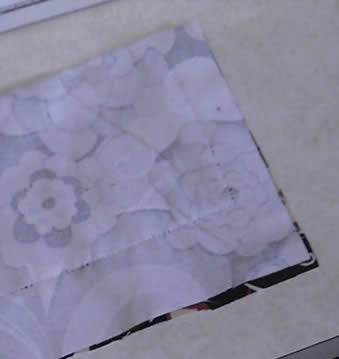
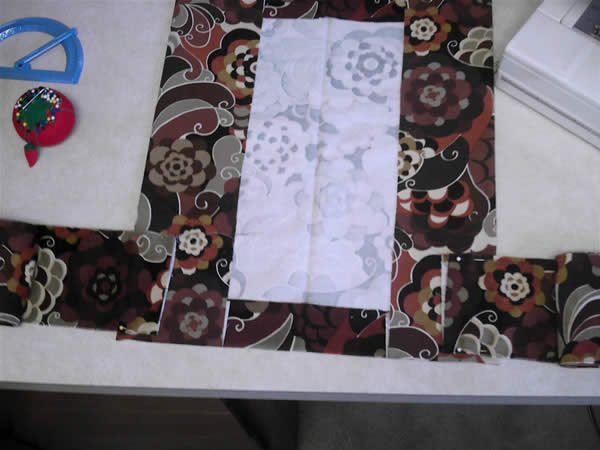
Body:
- Take a body panel. Fold over to the dimensions of 20” tall and 16” wide
and iron it in place. either sew over it now to keep it folded or just pin it,
it’s up to you.

Only the top and bottom folds are shown here -- you'll also fold the sides in
so that the finished panel is 16" wide.
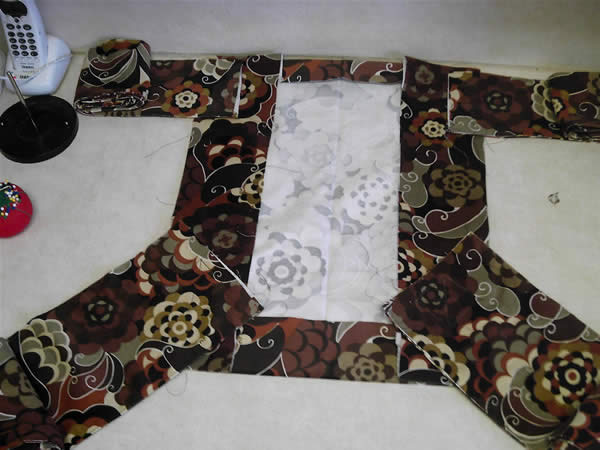
- Now we attach straps!
Attaching straps:
- Take the bottom straps and set them on top of the mt where you want them
to be. I like them to be 2-3” deep inside the carrier. Pin them in place. (mouseover
below image to see a closeup)
Now, sew a box with an X inside it to anchor the straps inside the mt. I like the box to be 1 ¼” all the way around. Triple stitch for safety!!!
- For the top straps, I like them to be at least 6” deep inside the carrier.
I also prefer them to be only 2” into the top of the carrier so baby has
a lot of room. Again, triple stitch the X boxes, this time with dimensions of
2” all the way around.
the finishing touch:
- Now take the top panel and place it on the top of the carrier. Iron and pin
where you want it to be, folding over the extra fabric.
- Sew it on, being careful to keep both sides of the body together at all times.
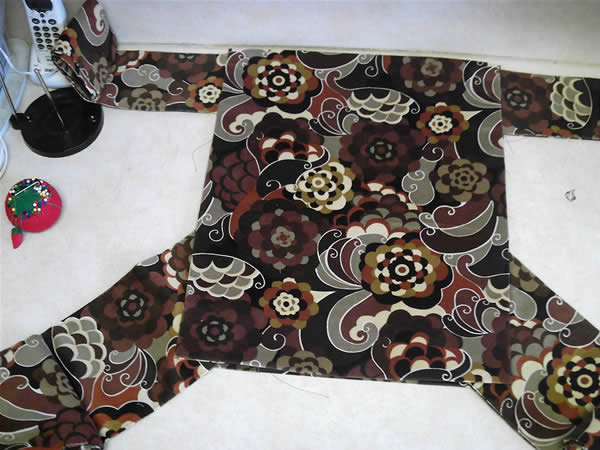
Now put it on silly, you’re done!
All content, barring that which is otherwise attributed, is ©2023 to
Jan Andrea. If you wish to use my content on another page, please email before
doing so, even for content with the Creative Commons licenses. Text/images used
elsewhere must be attributed to me. Be advised that I will pursue copyright
violations.