

All directions on this page are copyright to Becca of Annabear
Babyware.
(All text and pictures on the page are by Becca... I'm just
hosting. These directions were originally
posted in the DIY forum of the
BabyWearer.com -- Jan)
This pattern is copyright to Becca (as above) and is NOT for resale under ANY circumstances!
I just took a bunch of pics while I made a super fast sleep sack (could have spent more time on it, but was in a hurry and needed a new one), and figured I'd share them with you too. SO, if you want or need a sleep sack and don't want to pay $45 for one... here's how!
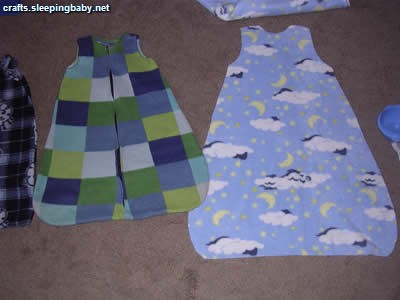
First you need to find a baby gown in the size you want, OR you can just eyeball it and make a template using a footie sleeper as a reference.
Start with 1yd (fleece) or 1.5yd (cotton/flannel)~ Fold in half so stretch goes the short direction (if fleece). Lay out your template, also folded in half. Line up the FOLDS, and cut around. Remember, if you're matching the size, that you need to account for seam allowance (1/2" on each edge that will be sewn.) If going up a size or two, add 1" beyond seam allowance per size up.
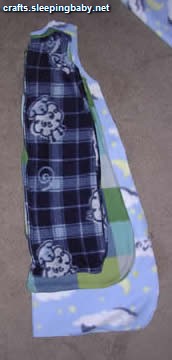
(last pic shows size difference between 0-6m, 6-12m, and 18m sizes)
When you unfold, this
is the back edge. The neck should be higher here than the front.
After the cut, there will still be a significant portion of fabric left. Take
into account if you have a one-sided print, when cutting the 2nd piece. Line
up your first cut piece on the EDGE (where the fold was, previously). You want
to account for seam allowance on the outer edge, as the front pieces need to
be a little bigger (zipper), and the neck should scoop a little lower on this
piece.
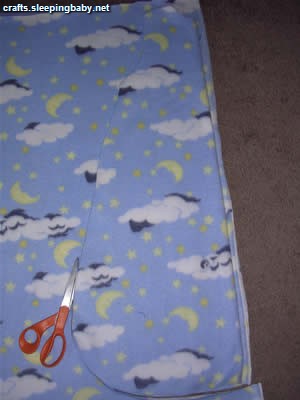

When done, you'll have 3 pieces: back, and 2 front.
Line up shoulders, RIGHT SIDES together (outsides = right sides). Pin shoulders.
Sew down.
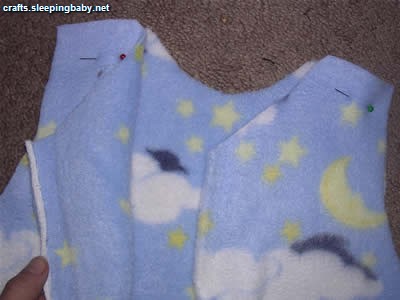
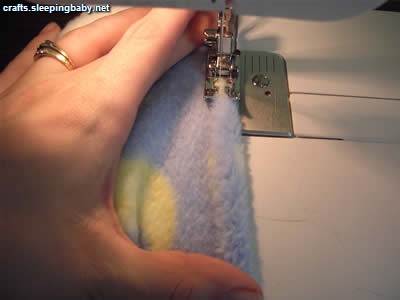
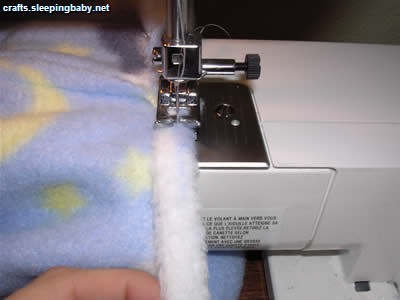
When shoulders are done, fold or roll over the neck, so the raw edge is hidden. (as shown below) Roll as you sew, or roll and pin, then sew.

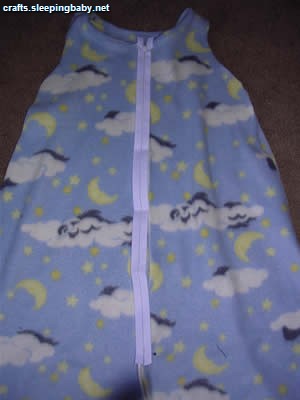
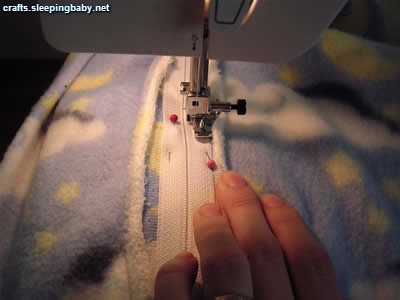
Now, you lay out the zipper to see where to stop sewing the front pieces together. Pin where zipper ends, then sew down from pin. (navy blue pin at the bottom... can barely see it in the small pic)
Pin on the zipper. (Can baste here if you prefer. I find it takes much longer and doesn't yield MUCH better results) Open zipper and start on the right side. Fold flap above zipper head down and away. Folding the raw edge down as you go, pin all the way down to the bottom and pin across bottom.

Close zipper and repeat UP the left side. Fold top down and away.
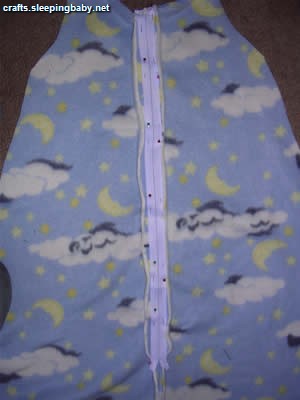
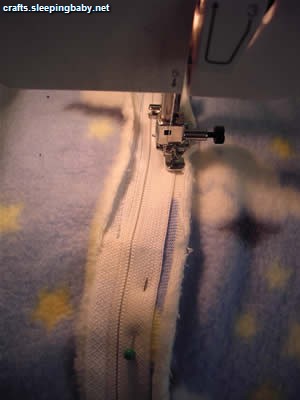
Before you sew, check from the front to see if you can see the zipper teeth. If not, repin until you can see it.
Sew zipper on, removing pins as you go. Just a straight stitch, being sure to stay away from the teeth. Use a zipper foot if you have it. (it looks different... smaller in the middle) Sew just like you pinned: down right side, across bottom, up left side.
Once zipper is on, open and close it real quick to be sure it works fine and
is totally attached. Fix anything that needs it (mine slipped away from the needle
at one point and needed to be re-attached, but it was a really fast fix)
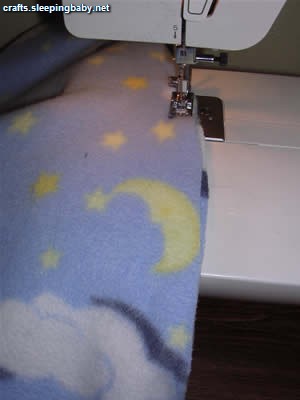
Now sew down and around the bottom, starting at the bottom edge of the sleeve,
and stopping at the bottom of the next sleeve.

Now you're almost done. Remove the front part of your machine (if you have a free-arm machine) and slip the sleeve around the smaller sleeve piece. (If your machine isn't a free-arm, just sew as normal. The free arm makes it easier to keep the project out of the way while you work)
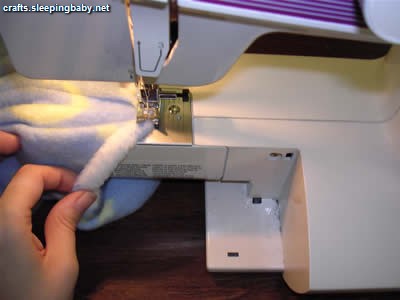
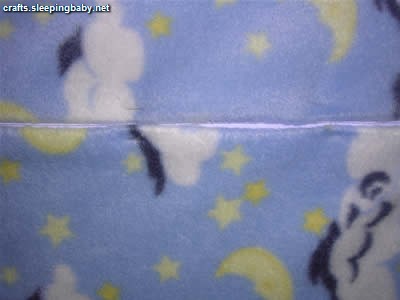
Sew down the sleeves in the same way you did the neck, starting at the side seam.
DONE! I put it on Aaron to see how it fit... he got mad because he thought he had to go to bed, LOL.

Finished project size comparison to the other 2 sizes. 0-6m, 6-12m, and 18m
