 I bought
my first hemming foot in 2005, and haven't looked back since. This tool cuts
off a huge portion of my sling sewing time, since I no longer have to stop and
fold hems while I'm sewing (or, worse yet, drag out the iron!).
  I bought
my first hemming foot in 2005, and haven't looked back since. This tool cuts
off a huge portion of my sling sewing time, since I no longer have to stop and
fold hems while I'm sewing (or, worse yet, drag out the iron!).
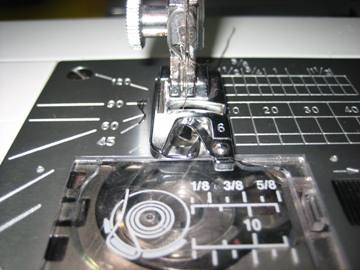
Hemming feet are available for most brands of sewing machine. My machine uses a snap-on foot (seen at right); other machines use other attachment methods. JoAnn fabrics and other large chains generally don't carry more than the very basic feet; they may have replacement straight stitch or zipper feet, but I haven't encountered a chain store yet that has more specialized feet like this. Your best bet is to visit a local sewing machine or specialty fabric dealer (like a quilt shop), as the former especially is likely to carry them. Call first, to make sure they carry accessories for your machine brand; some stores specialize in a few models and won't carry accessories for others. The feet I use on my machine (a Janome Memory Craft) are made by White, and come in a package of two (one 4mm and one 6mm hemming foot, about $10). My machine came with a 2mm hemming foot, but it is essentially useless, being appropriate for only very thin fabrics, and I haven't yet been able to get the 2mm to work for me. Rest assured, there is a huge difference between the 2mm and the larger feet!
 |
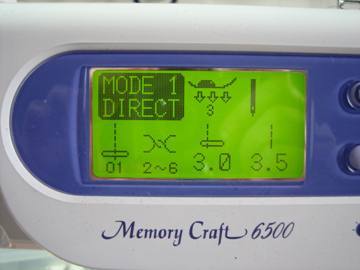 |
| the foot, attached to the machine. | these are the settings I use on my machine -- I put the needle over to the left just a little bit (3.5 is the middle on my machine) and elongate the stitch to about 2mm in length (it's usually set to about 1.2 mm). You'll want to play with the needle position on your machine, so that it's close to the left edge of the hem, but still catches all layers in the stitching. |
 |
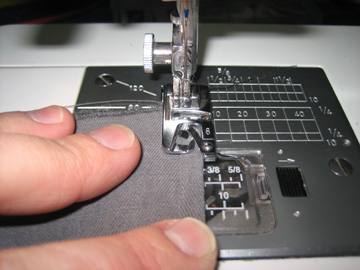 |
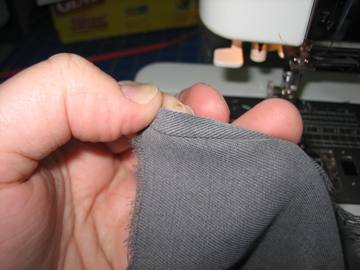
| Fold a small section of the fabric over twice, so that it's about 6mm wide total and the raw edge is enclosed. This takes practice, and it's fine to use a bit of tape or something to keep it in place. | Here's where the tape helps if you are just learning to use the foot :) Slide the folded section under the foot, so that the right edge lines up with the side of the foot -- the guide -- as shown above. |
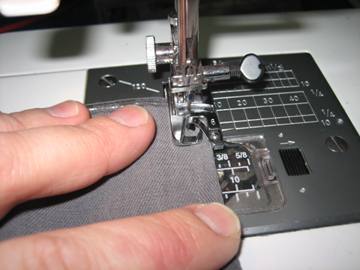 |
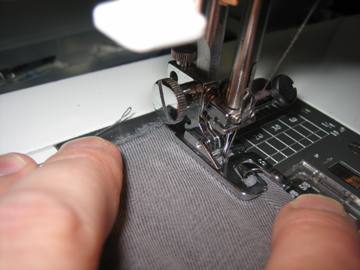 |
| Put the needle down in the fabric. | Sew 0.5-1", leaving the needle down at the end. This will secure the fabric when you bring the fabric through the scroll. |
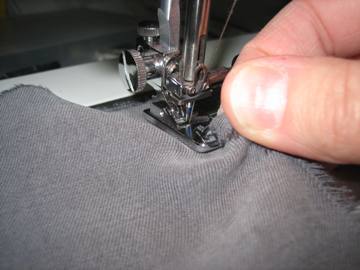 |
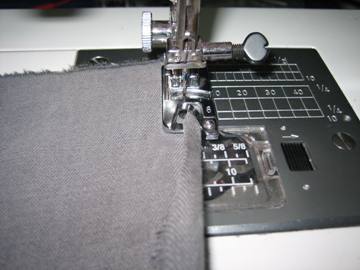 |
| Raise the foot, and pull the fabric carefully into the scroll, up and to the left. | the inner fold should rest inside the left side of the scroll, while the edge lines up with the guide on the right. Be sure your needle will catch the inner fold when you start to sew. |
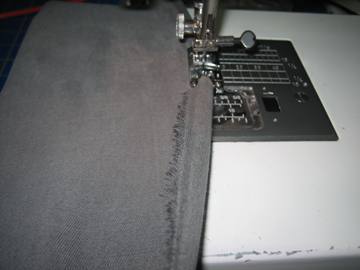 |
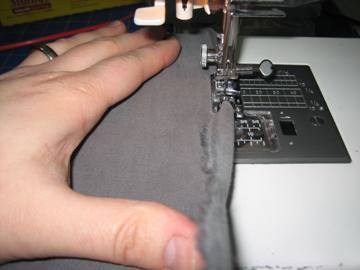 |
| Here's a picture of the fabric feeding correctly into the scroll. I usually line up the unhemmed edge with the left side of the foot. You do not usually need to fold the fabric before it goes into the scroll; if you do so, you may actually run into problems. I find it's best just to position the fabric carefully and allow it to curve into the scroll by itself. | Use your left hand to keep the fabric the correct distance from the edge, while holding the fabric in your right hand so that it is at about a 30 degree angle from your machine -- you'll be holding it up just slightly, which helps it feed into the scroll correctly. Ideally, it will curve into the scroll by itself. |
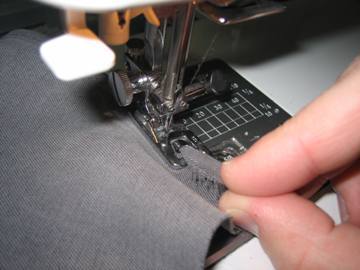 |
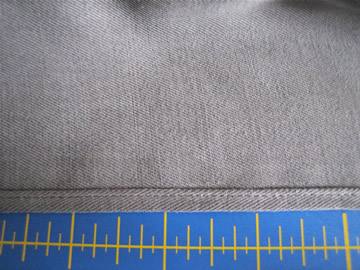 |
| As you reach the end of the fabric you're hemming, you'll want to hold the fabric as it feed though, or it will twist into a weird shape. | the finished hem -- narrow and tidy! |
 |
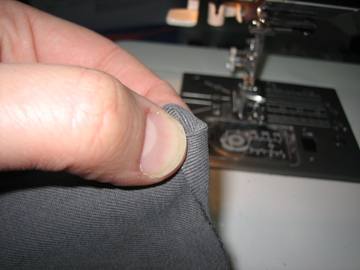 |
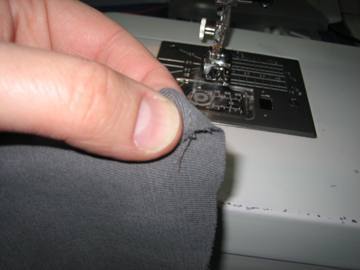
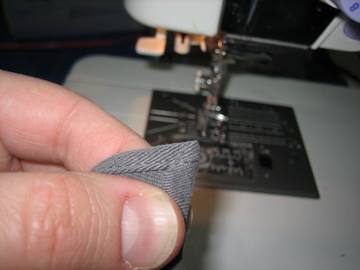
| To make a nice corner, fold the fabric down 45 degrees, so that the unhemmed portion is about twice the width of the hem itself. | Fold the unhemmed portion over the part of the triangle, |
 |
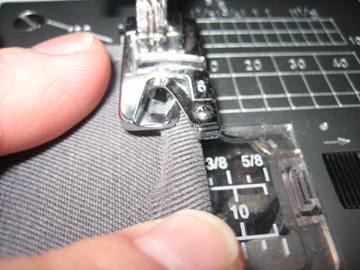 |
| and then over again, to enclose the raw edge. There's now a mitered-looking edge on the corner, and that much less fabric to try to stitch through! | You may want to tape the corner down as you slide it under the machine; I usually bring the fabric under the foot from back to front, so that the corner stays in place. |
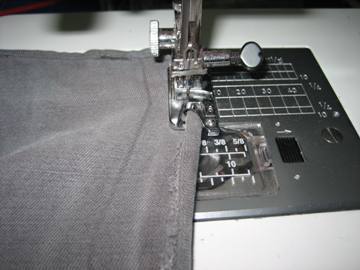 |
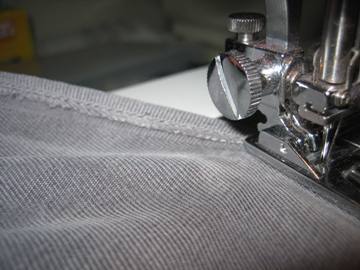 |
| If you pull on the fabric towards the left, so that the edge isn't lined up correctly, not enough will feed into the scroll. | When this happens, the raw edge is left exposed to the left of the stitching. |
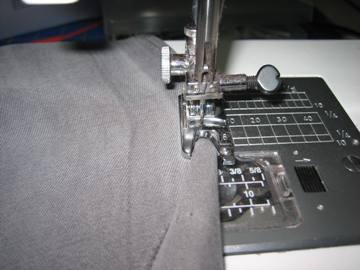 |
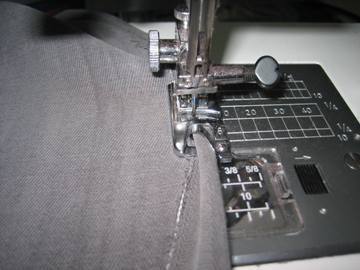 |
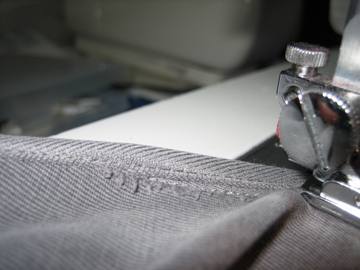
| If the fabric is allowed to feed all by itself, with no guidance from the left hand, too much may feed into the scroll. In this photo, you can no longer see the unhemmed edge. | If it continues this way, the unhemmed edge will fold back towards the outside. |
 |
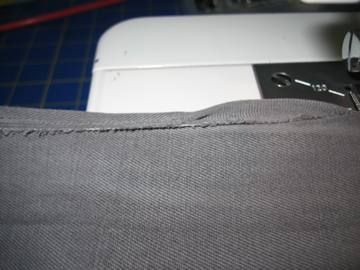 |
| Here's what that looks like in the finished hem, | and here's what it looks like as the error is recovered from. |
If you find that the fabric isn't feeding correctly into the scroll, stop, cut your threads, and get out the stitch ripper. It's better to take a moment to redo the hem than it is to stare at a frayed edge when it's done :)
Generally, the 6mm foot will work with medium to slightly heavier-weight fabrics -- I use it with dupioni and shantung silks, lighter brocades, light- to medium-weight twills, medium-weight linen, and tencel twill. For lighter fabrics, you may want to try a 4mm foot, although they will likely be fine with the 6mm as well. I do not recommend trying to use the foot with thick or heavy fabrics, such as jeans-weight denim, heavier twills, most fleece, etc. Most of those are so thick and/or heavy that they actually bend the scroll out of shape. I have gone through three hemming feet this way -- trying to force too thick a fabric into the scroll, then finding it won't properly feed the fabric. (Some machines are able to use a 1/2" hemming attachment that snaps into the needle plate -- I believe the Viking has this feature -- and the 1/2" attachment would be better for heavy fabrics.)
Do practice on a small piece of your fabric before sewing your finished project! Every fabric feeds slightly differently, and what works with, say, cotton twill won't necessarily work the same way with tencel twill. You may find that you need to hold lighter fabrics at a higher angle than heavier ones, or that some fabrics practically feed themselves through the scroll, while others need a lot of guidance. It takes practice to guide the fabric consistently, so sew slowly and watch what you're doing. I do find that, even after sewing hundreds of slings with my hemming feet, I still need to be on guard, but using the foot is still really worthwhile -- it takes me less than half the time to hem a sling with a hemming foot than it does when I have to fold it by hand.